Salted Caramel Pots de Crème
This post may contain affiliate links. Read our disclosure policy.

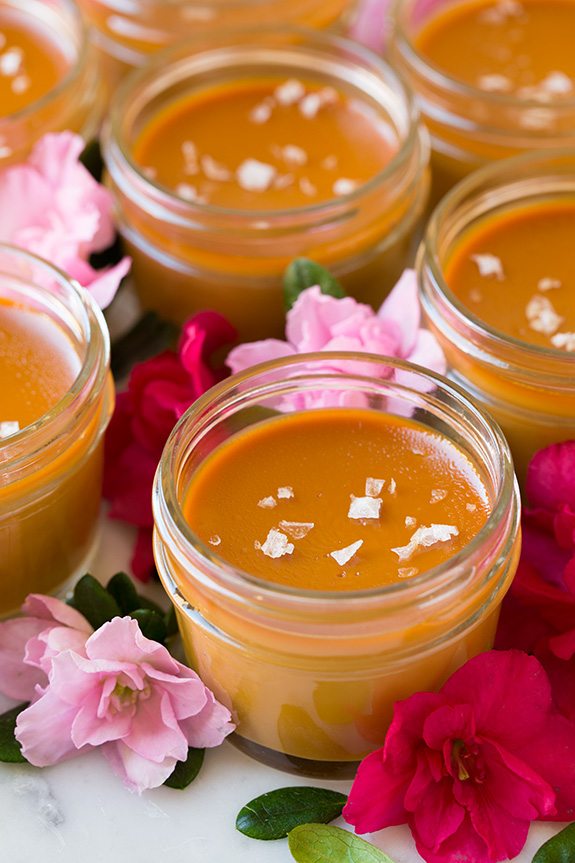
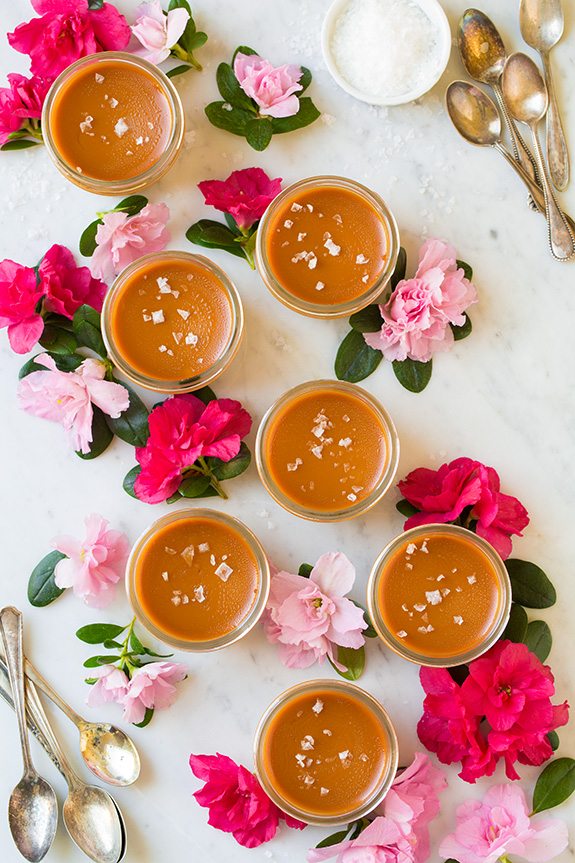
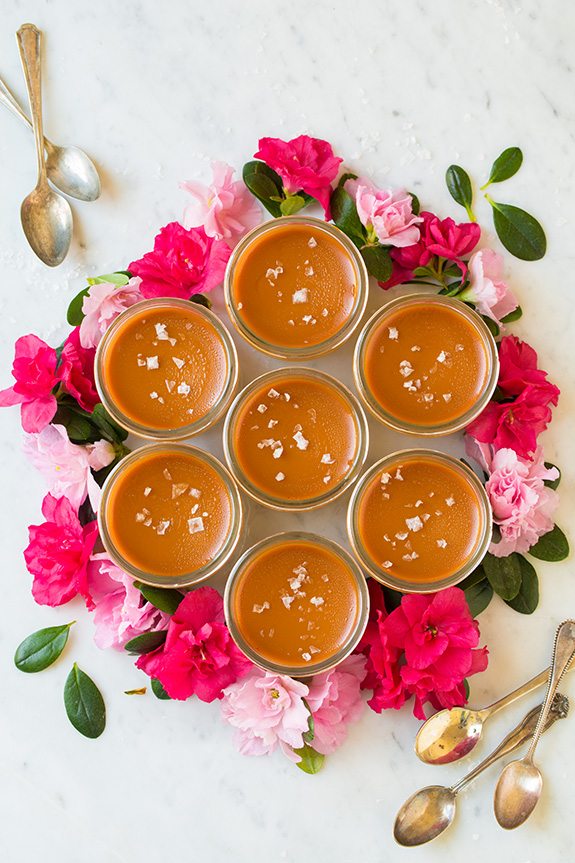
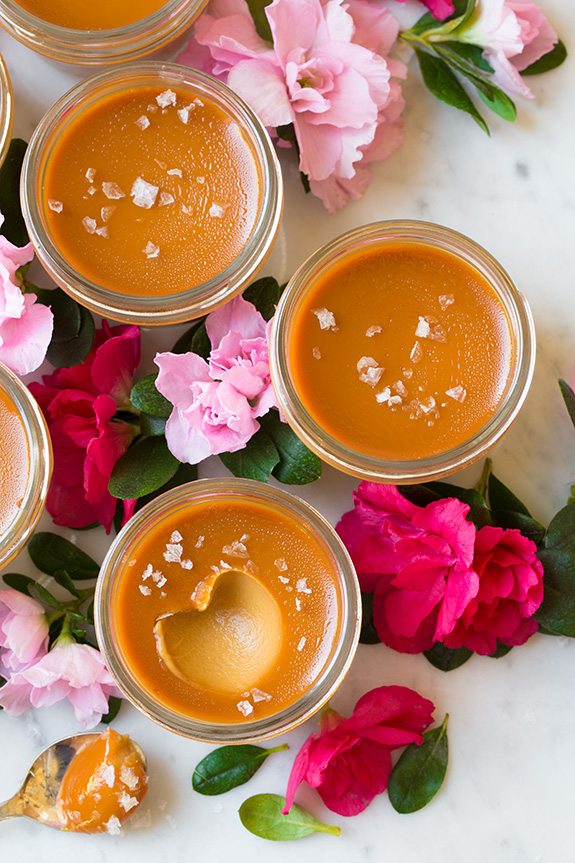
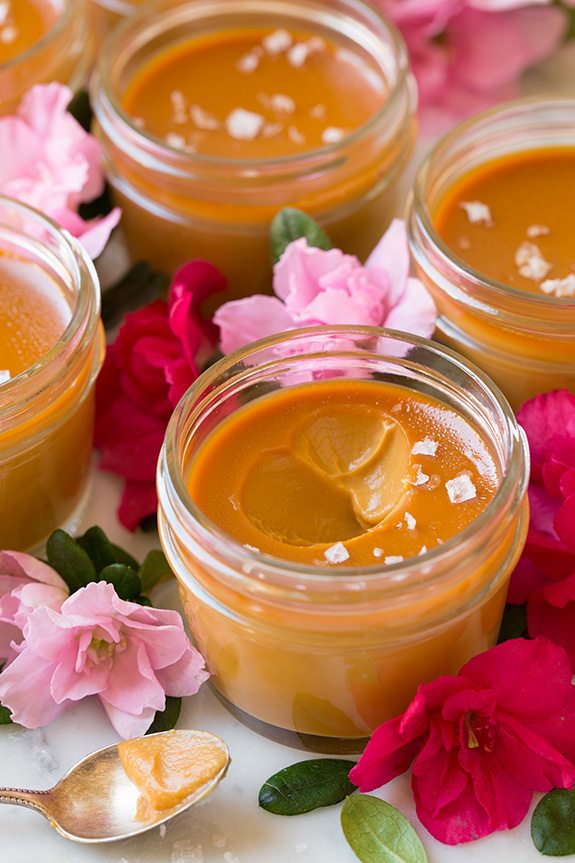
Salted Caramel Pots de Creme are total dessert bliss! They’re lusciously creamy, perfectly rich and brimming with decadent salted caramel flavor. No one can resist these!
The Best Pot de Creme Recipe!
I’m mean I expected these to be good because they are made of all the good stuff, but they even exceeded my expectations! They were so dreamy and then some! Could I add any more exclamation points??!!
I really, really love these. If you like salted caramel you will love these too. I mean really what’s not to love here?
I made these twice because I found out the hard way the first time that as some recipes may suggest to whip the egg yolks until they are light and fluffy (which I did, by hand for several minutes until it was that lovely creamy, pale consistency).
If doing that you’ll find in the end you get all these air bubbles, all this foam that just floats up to the tops of the pots and gives them this strange, not-so-appealing appearance once they’re baked.
I also preferred the texture of them without whipped up egg yolks anyway. So, with that said just mix your eggs to blend them – no need to get crazy and whisk like mad there.
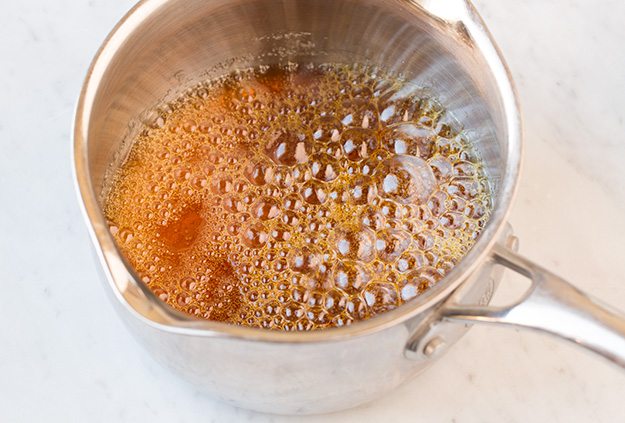
Another key here is not to burn your caramel, of course. But also don’t under-do it or you won’t get that rich caramel flavor.
Caramel can be tricky but once you figure out that prime moment where the caramel has just turned that deep rich, rosiesh orange without being too dark – boom! All life’s problems are gone.
Do be sure to have ingredients ready with this because you need to work quickly once the color reaches that stage (you can use the photos below the recipe as your guide, rather the pot will be on the stove top. My kitchen is just too dark for pictures there).
One thing I did with these to speed the chilling process up was to chill them in an ice bath in a 13×9-inch pan (with lots of ice).
I needed them chilled in 2 hours instead of 4, it worked great but after they sat at room temp for a few minutes once I took them out they did get a little bit of that sweat, which you’ll see.
Food blogger probs, chasing daylight :).
All these little details make them seem more complicated then they really are. The caramel is the only tricky part here, other than that you’ll breeze right through these.
They’ll just take some patience in waiting for them to bake and cool and chill. Indeed these are one of those things that is definitely worth every single calorie. I will dream about these things for weeks and weeks until I make them again.
Follow Cooking Classy

Salted Caramel Pots de Crème
Ingredients
- 1 1/4 cups (260g) granulated sugar
- 1/3 cup (80ml) water
- 1/4 tsp fine sea salt
- 1 1/2 cups (355ml) heavy cream
- 1/2 cup (120ml) whole milk*
- 6 large egg yolks
- 1/2 tsp vanilla extract
- Maldon sea salt or fleur de sel , for topping
Instructions
- Preheat oven to 325 degrees. Place seven 4-ounce oven proof jars, ramekins, or custard cups in a large roasting pan, set aside.
- In a medium heavy bottomed saucepan combine sugar, water and 1/4 tsp salt (have heavy cream ready so you can immediately add it when caramel is ready, otherwise it will burn.
- Whisk over medium-low heat stirring constantly until sugar has dissolved. Increase heat to medium-high heat and bring to a boil. Allow to boil, without stirring and using a pastry brush dipped in water as needed to brush down sugar crystals on sides of pan, until mixture turns an amber color, about 8 - 10 minutes.
- Once it reaches that color (immediately) carefully pour in heavy cream and milk while whisking (it will bubble vigorously and likely clump onto the whisk but will dissolve once returned to heat).
- Return to heat and cook, while constantly whisking, about 2 minutes longer or until sugar has dissolved. Remove from heat, stir in vanilla and let cool several minutes.
- In a large bowl stir egg yolks just to blend. Slowly pour cream mixture, while whisking, into egg yolks.
- Pour mixture through a fine-mesh sieve into a 4-cup glass liquid measuring cup with a pouring spout**. Divide mixture evenly among cups in roasting pan.
- Pour enough hot water into roasting pan around cups to come halfway up the sides of the cups. Carefully place on oven rack in center of oven.
- Bake until custard edges are set but center still jiggles slightly when shaken, about 40 minutes.
- Transfer cups to a wire rack and cool 30 minutes, then transfer to refrigerator and chill 4 hours. Sprinkle with Maldon just before serving.
Notes
- *I don't usually keep whole milk on hand so I simply replaced 1 Tbsp of the 1% milk I do have with 1 Tbsp heavy cream.
- **If there are any bubbles/foam at the top of the mixture just press a piece of plastic over them to remove them as they'll stick to the plastic. It will give a pretty presentation in the end not to have the bubbles.
- Recipe source: adapted from BHG